Showing posts with label painting portraits. Show all posts

Sunday, 18 June 2017

Painting Figures and Portraits - May/June 2017

Pam working on her portrait painting

On the 1st June my course on Painting Figures and Portraits came to an end.  This was a four week course with students painting with oils, acrylics and watercolours.  One student used pastels with great success.  

Overall, although the students found the course challenging, all of them rose to the challenge and created paintings that were better than their original expectations. Half the class had never painted a portrait before or even painted a figure which makes the results even more amazing!  I think the paintings speak for themselves. There are three or four highly successful ones and the rest follow closely behind.  Only one person's work is not shown by their choice although in my opinion this was one of the best.

Portrait painting by Pam 2017
Portrait painting in pastels by Mandy 2017

Portrait painting by Vicki 2017

Portrait painting by Jean 2017

Portrait painting by Liz 2017

Painting of Napoleon by John 2017

Painting by Jean 2017

Thank you to all the students who made this course a success.  If you would like to join one of my art classes or have one-to-one classes please contact me using the blog form below. 

My next course will be en plein air painting at Shanklin Chine on the 14th of July - look forward to seeing you there!  I

Happy Painting!

Lee 🎨

Sunday, 8 November 2015

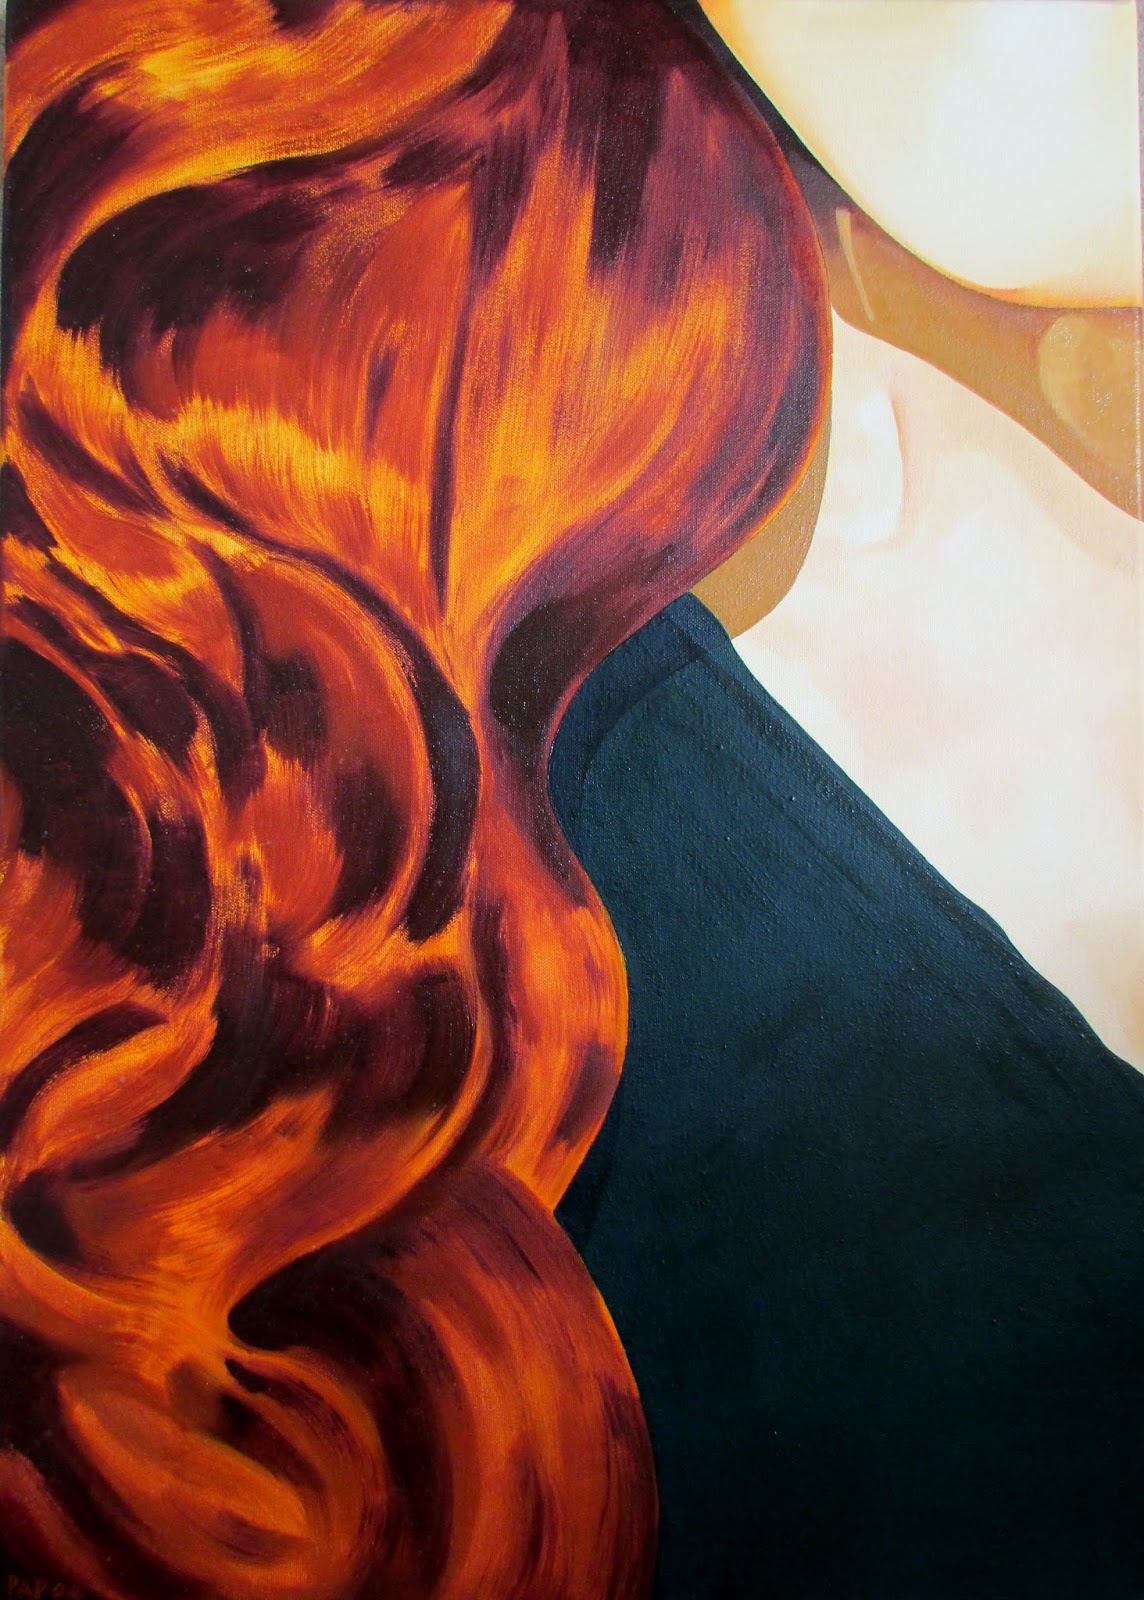
Portraiture Part Three: How to Paint Hair Using Oils

Detail of Original Oil Painting by Lee Papworth

In my latest post about portraiture I am looking at how to depict hair using oil paints.  


Whilst I was at art school a teacher once said to me get someone's hair right and you are some way near to capturing their likeness.  Many decades later after doing numerous portraits and figurative painting I can say he was most definitely correct.  The way I depict hair using oil paints is as follows:


Leave the white of the primed canvas so that when you put on the first hair colour preferably the lightest tone the white canvas will make the hair appear luminous. This will be the lightest parts of the hair. 

The mid tones and dark tones will be added when dry. These will be done by using a soft acrylic or watercolour brush with the mixed colour of paint and applied through dry brush technique.  Dry brush technique is when you only use the paint and no painting medium, i.e. just oil paint with no turpentine or linseed oil.


Although hair often looks hard to do, if you follow this technique it can be done very simply as the following paintings show.


Detail of Original Oil Painting by Lee Papworth

Detail of Original Oil Painting by Lee Papworth

Detail of Original Oil Painting by Lee Papworth

Detail of Original Oil Painting by Traceyann Papworth

If you would like to learn more about the art of painting please follow my blog.  I teach locally on the Isle of Wight and if you would like to join a class please use the contact form below.

Best wishes

Lee


Sunday, 16 August 2015

Portraiture Part Two - Create Beautiful Skin Tones


Original Oil Painting by Lee Papworth

This week I thought it would be a good idea to give some tips on mixing successful skin tones  I hope you find it useful!


Whether your skin appears predominantly pinkish or brownish, it will be made up of a great many different hues and tints.  Skin tends to appear as a collection of cool and warm colours, which can help describe the form.  Cool colours tend to recede.  Warm colours tend to advance forwards.  Your palette should therefore comprise of a selection of cool and warm colours.


Skin Colour Mixes - Try using different combinations and different amounts of the following primary colours to create light skin tones:- Yellow Ochre, Naples Yellow, Cadmium Yellow (warm), Cadmium Red (warm), Alizarin Crimson (cool), French Ultramarine (warm), Cobalt Blue (cool) and Titanium White. 


Use blues for veins as well as darker, cooler areas and shadows.  Adding blue will make your skin colour more natural looking.  Use Raw or Burnt Sienna and Burnt Umber to make darker skin tones.  Also consider a combination of primary colours to make beautiful rich brown colours for darker skin tones as well.


As always keep your mixtures clean and pure by limiting the number of colours in them to three or four.  Take your time when mixing your colours.


Tip 1: Make a skin tone chart of your own by experimenting with the colours above.  Each time you mix a colour write down next to it the colours you mixed to make it.  The best way to learn is trying out different combinations and not being afraid to make mistakes!


Tip 2: Never be tempted to buy a 'flesh tint' tube of paint.. as this will never look natural and you will become a better painter mixing your own colours.


Most importantly....have fun! 


Follow my blog so you don't miss out on Portraiture Part Three.  If you would like to attend my art classes on the Isle of Wight please use the contact form at the bottom of this blog. 


Best wishes

Lee

Original Oil Painting by Lee Papworth


Original Oil Painting by Lee Papworth

Sunday, 26 July 2015

Portrait Tips - Part One

Knitting - oil painting by Mrs I Westcott

Here are a few pointers to help you map out the facial features of your sitter. The following are guidelines only as the characteristics of individual sitter's may vary:

  • The bottom of the eye socket is at the mid point of the face.
  • The top of the ears are on a line with the eyebrows.
  • The bottom of the ears are on a line with the end of the nose.
  • There is one eye's width between the eyes.
  • The distance between the pupils is a bit wider than the width of the lips.
  • The skull is as deep as the length of the face.
  • The back of the skull is slightly wider than the face.
  • Capturing the person's hairstyle is integral to creating a successful likeness.
Part two to follow soon!

Best wishes

Lee